

If your online store is on Squarespace but it’s getting bigger, you might want to switch to a platform that can handle your growing business. Consider migrating from Squarespace to Shopify for a better fit. We strongly suggest moving your online shop from Squarespace to Shopify. If you’re unsure, don’t worry! We’re here to talk about why it’s a good idea and give you a useful guide on how to make the migration.
Is it possible to migrate my website from Squarespace to Shopify?
Absolutely! Just as you can bring in products from WooCommerce to Shopify or switch from Big Cartel to Shopify, moving your store and migrating from Squarespace to Shopify is also doable. It’s a straightforward process, and we’ll guide you through it step by step to make it simple and stress-free.

What are the reasons to migrate from Squarespace to Shopify?
Even though both Squarespace and Shopify help you create your online store, there are several advantages to migrating from Squarespace to Shopify. Let’s dive into and talk about some of the reasons why this move can be advantageous. Plus, we’ll provide additional insights to help you make the best decision for your business.

The objective or intent behind creating websites.
When Shopify was created, it focused on helping eCommerce businesses. It’s a powerful platform designed specifically for them. On the other hand, Squarespace was initially a general website builder, with eCommerce features added later. While Squarespace works well for services like photography, it falls short in certain aspects when it comes to selling products. If your business involves eCommerce, migrating from Squarespace to Shopify could be a good choice due to Shopify’s strong eCommerce foundation.
Purposes related to marketing.
Choosing Shopify is smarter for marketing. It works seamlessly with Google and Facebook, making it ideal for those with advertising budgets or stores planning future marketing efforts. Shopify also simplifies running campaigns without needing an expert because it has built-in marketing channels. This is a feature Squarespace lacks, giving Shopify an advantage for promoting your business.
Opportunities for customization.
Customizing your store on Shopify offers more opportunities compared to Squarespace. Thanks to Shopify’s use of liquid code, the customization possibilities are vast. Whether you’re a coder or not, Shopify is user-friendly. There are plenty of customizable themes available that can enhance the overall look of your store.
What’s great is that you can bring in experts like Digital Shopify if you want deep customization for your Shopify themes. Squarespace, on the other hand, is tougher to customize and has limitations on both the front and back end. It’s designed for those who don’t code, so customization options are more restricted.
Even if you don’t know how to code, Squarespace still has restrictions on customization. When you sign up on Squarespace, you get a template to start with, but this limits your ability to customize and brand your business. Customization is crucial for boosting sales. A store that stands out, looks professional, and is unique can greatly benefit your business, and it’s something you shouldn’t ignore.
Payment options
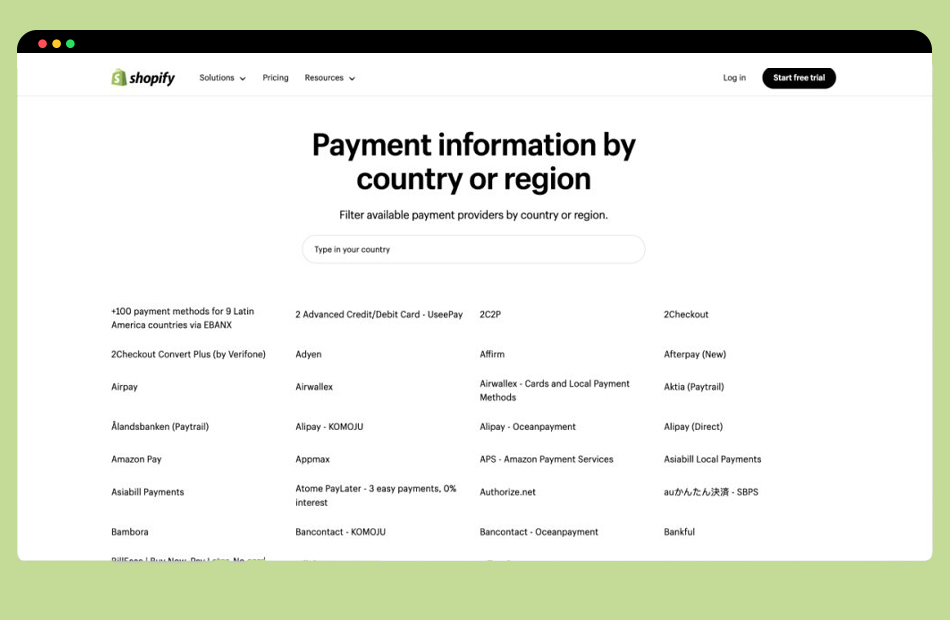
Shopify provides a wide range of over 100 payment options, offering a lot of choices. On the other hand, Squarespace is quite limited, offering only three payment gateways: PayPal, Stripe, and Apple Pay.
The problem is, not everyone can use these three methods. Many people don’t have a Stripe or PayPal account, and some don’t use an iPhone. This limitation on Squarespace might lead potential customers to leave. To overcome this, consider migrating from Squarespace to Shopify for a broader range of payment options that cater to more customers.
Shopify’s payment options are more versatile. It accepts both Apple Pay and Google Pay, allowing payments from any type of phone.
Additionally, Shopify gives you the choice to pay with credit cards, debit cards, or use PayFast. This means anyone with a bank account can buy from Shopify. Squarespace doesn’t offer this variety.
Having many ways to pay makes it more likely for people to make purchases.
Search engine optimization (SEO)
Shopify is designed with a focus on search engine optimization (SEO). It automatically applies basic SEO principles to product listings, boosting their visibility and attracting more visitors.
In terms of URL mapping and 301 redirecting, Shopify outperforms Squarespace. This feature ensures that search engines direct customers to the right pages, preventing confusion. This capability brings a significant amount of traffic to your Shopify store, positively impacting marketing and sales.
Additionally, Shopify provides user-friendly tools for adding meta tags, optimizing images, and managing sitemaps. These features make it easier for your online store to rank higher in search engine results, enhancing its overall visibility on the internet. This can be especially beneficial for reaching a wider audience and attracting potential customers.
The available applications on Shopify
Shopify offers a third-party app store to improve your store, boost sales, enhance design, and address challenging issues.
Squarespace has limited app integration, lacking the extensive options and capabilities found in Shopify.
How to migrate from Squarespace to Shopify
Next, we will guide you through the manual process of moving your online store from Squarespace to Shopify.
Step 1: Set up a Shopify account and store
If you already use Shopify, you can move to the next step. If not, follow these steps:
- Sign up for Shopify.
- Build your store on Shopify.
Take some time to set up your store correctly. Adjust the settings and choose the appearance and functionality that you want for your store.
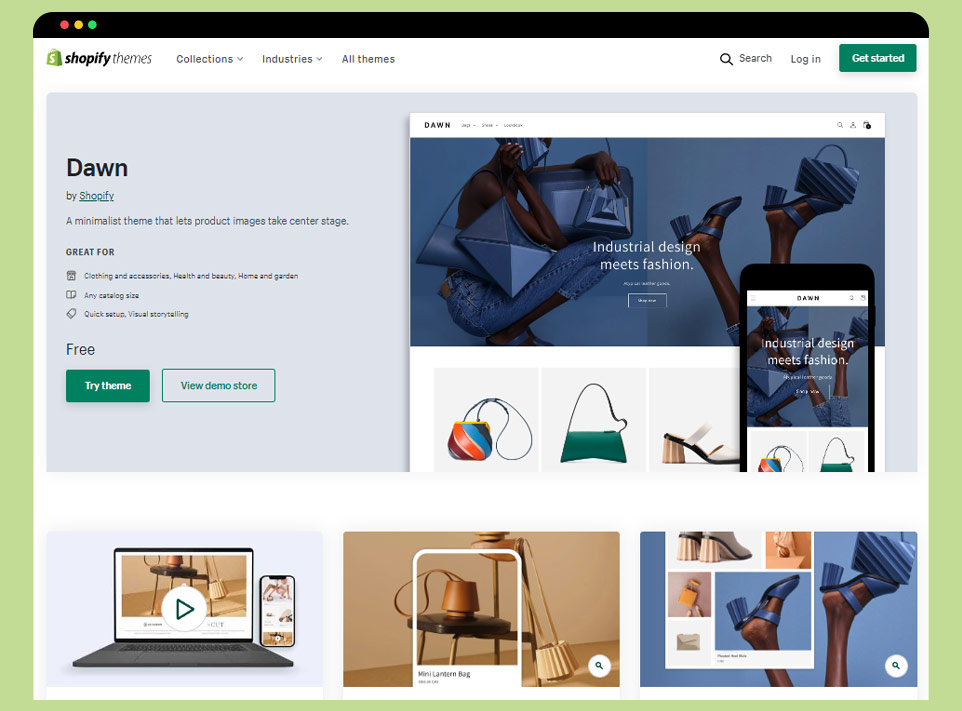
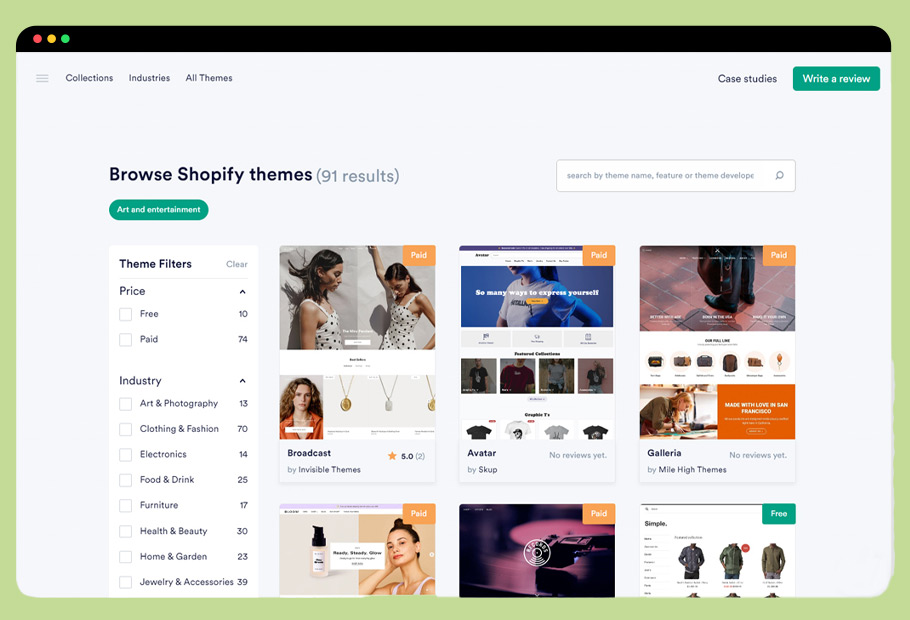
Step 2: Choose and add a Shopify theme
The appearance of your store, known as its theme, can greatly impact its success. Shopify offers many beautiful themes, and adding one from the Shopify theme store is easy.
Here’s how:
- Go to your Shopify Admin page.
- Navigate to Online Store, then Themes.
- Click on Explore Themes.
- A window with themes will appear. Preview any theme or learn about its features.
- If you like a theme, click the Add button to use it and add it to your Shopify store.
Step 3: Transfer the data from your Squarespace store
Begin by taking out the data from your Squarespace store, which includes information about your products and customers.
Here’s how:
- Open the Home Menu in your Squarespace store.
- Click on Settings.
- Go to Advanced, then Import/Export.
- Choose Export.
- Pick all your products from the export menu.
- Click Download.
This action will save all the product details you chose into a CSV file, handy for later importing into Shopify.
Now, let’s move on to exporting your orders. But, here’s a crucial note: if you have any pending orders, it’s essential to close them in Squarespace before transferring them to Shopify.
If you try to import pending orders into Shopify, they might get treated as completed, and you could risk overlooking important orders. This step is important when migrating from Squarespace to Shopify.
Exporting orders is easy. Here’s how:
- Go to your Squarespace website’s Home menu.
- Click on Commerce, then Orders.
- Choose the type of orders you want to export: Completed, Pending, or Cancelled.
- If you need to find specific orders, use the search function.
- Click Download CSV to start the download.
It might take a bit, but once it’s done, the exported data will be saved as a CSV file on your computer.
Step 4: Import Your Squarespace Data into Your New Shopify Store.
Now, let’s Import the files you saved from Squarespace into Shopify.
Here’s how:
- Open your Shopify Admin page.
- Find the Apps tab and click on it.
- Look for Store Importer and click on it.
- In Store Importer, pick Squarespace from the drop-down menu.
- Click Add Files.
- Choose the CSV files you exported earlier.
- Click Continue Export.
- Finally, select Import to start the import process.
Step 5: Check and Review the Product Information in Your Shopify Store.
After finishing the import process, the next thing to do is check the product data you brought in. Ensure it went well, and if needed, make any changes or adjustments.
- Visit the Import Summary page.
- Check the information about any actions or errors that happened during your import.
Things that might have happened and mistakes that could have occurred.
Here are typical things that happen and mistakes that might occur when you import data into Shopify. Pay attention to them and fix anything that needs changing.
– The store data that you imported was successful
This is the notification you want to see. It confirms that all your data has been successfully brought in.
– Some data failed to import
This could include items like products, orders, or customers. Squarespace has a restriction where you can only export up to 2000 products, and each version of a product counts as one product. For instance, if a product on Squarespace has 4 variations, it’s counted as 4 products.
Imagine you have 3000 products and variations in your store, but only 2000 can be imported due to the export limit. This leaves 1000 products that you need to add manually.
Another option is to import new data, but only for the products that didn’t import the first time. So, you’ll go back to your Squarespace store and choose only the products that didn’t get imported initially.
Export the selected data as a CSV file, just like you did before.
Now, in your Shopify store, choose “Start New Import.” Your old data won’t be erased.
If some of the new data matches what’s already in your Shopify store, those products won’t be imported again, preventing any duplicates.
– Products are imported successfully but have failed to publish
If your products were imported but aren’t visible, it means they were set as hidden when exported from Squarespace.
To fix this, you need to manually make your products available for your sales channels.
– Some of your product variants did not import
If you notice that certain variations of your product are not there, it means the product wasn’t fully imported. You’ll need to manually add that product to your Shopify store.
– There are dimensions missing from imported products
If the size details of a product are not there, you’ll have to manually include them in the product descriptions.
– Your gift cards and digital products have not been imported
The export process on Squarespace doesn’t include gift cards and digital products. That’s why you won’t find them in your export file, and they weren’t imported. Since they can’t be brought in automatically, you need to add them manually to your Shopify store.
Step 6: Personalize Your Shopify Store.
After you’ve checked your import, made any necessary changes, and are satisfied, it’s time to personalize your store. As mentioned earlier, Digital Shopify provides complete theme customization. If you want your theme to match your brand perfectly during the migration from Squarespace to Shopify, submit a task with us.
Step 7: Change the domain of your website.
Once all your products, customers, orders, and content are successfully moved to Shopify, and you’ve personalized your Shopify store, the final step is to switch your website’s domain. This ensures that visitors go to your new Shopify store, not the old Squarespace one.
To do this, make sure you’ve been registered with Squarespace for at least 60 days; it’s a requirement for the domain switch during the migration from Squarespace to Shopify.
To switch your domain, start by unlocking it.
Here’s how:
- Open the Home Menu in your Squarespace store.
- Click on Settings, then Domains.
- Pick the domain you want to transfer and make sure the “Lock Domain” box is unchecked.
Next, you’ll need to obtain the transfer key.
Here’s how:
- After unlocking the domain, a button labeled “Get Transfer Key” will appear at the bottom of your screen.
- Click on this button, and copy the transfer key that appears.
The code you copied needs to be provided to your new domain provider to authorize the transfer. They might call it an “Authorization Code” or an “EPP Code.”
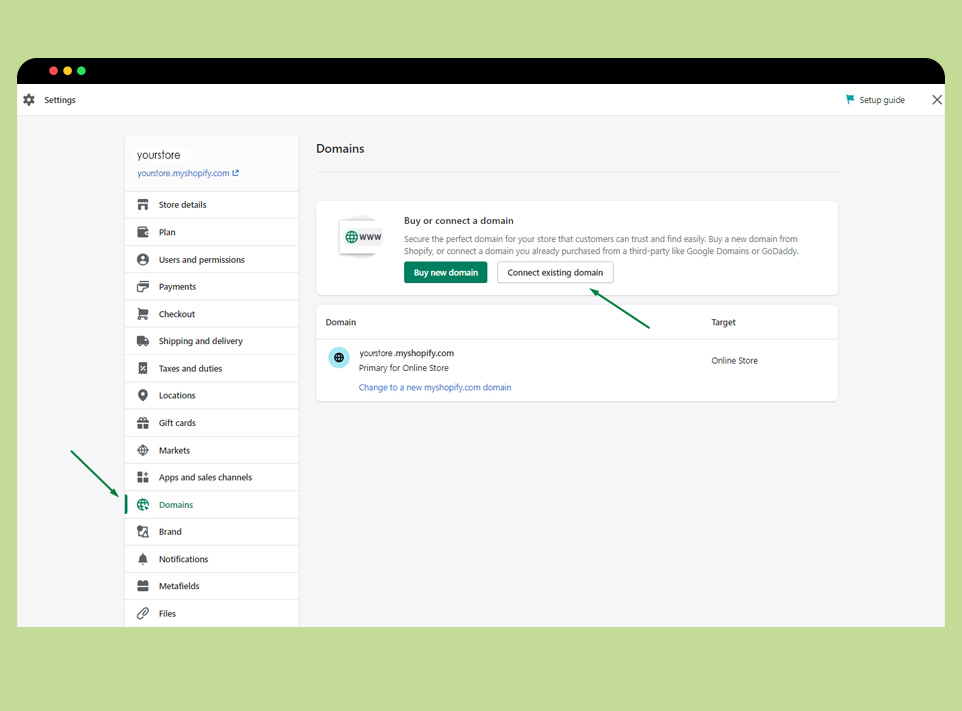
The final step is to move your domain.
Here’s how:
- Open your Shopify Admin page.
- Click on Online Store.
- Go to Domains.
- If you haven’t connected a domain to your Shopify store, click Connect existing domain, then choose Transfer.
- If you’ve already linked a domain, choose Transfer Domain. Enter the domain you want to transfer to Shopify without “www.”
- Click Next.
- Select Verify Domain.
If your domain is ready for transfer, a message saying “Domain Unlocked” will appear.
Here’s what to do next:
- Click Next.
- A verification box will show up.
- Enter the authorization code you got earlier.
- Click Next, then Buy and Transfer.
You’ll get an email from the domain provider, and you need to give approval for the domain transfer.
Here’s what to do:
- Click on the link in the email that says Approve/Confirm Transfer.
After approval, it might take up to 20 days to complete. A helpful tip is to keep your Squarespace site open until the transfer is done and all the traffic is properly directed to your Shopify store.
Conclusion
Moving your business from Squarespace to Shopify is a straightforward process. Shopify is a highly versatile e-commerce platform, and transitioning offers numerous advantages. Shopify is more advanced and offers more features compared to Squarespace. Making the move to Shopify will benefit your business in the long term, especially when migrating from Squarespace to Shopify.
